Incorporating Warp Into Fixtures
Synergizing Hardware & Software Capabilities
As a contract service lab our clients rely on us to solve some of the most complex problems as quickly as possible. As experts using a variety of hardwares and softwares, we synergize these capabilities to offer unique solutions. This case study demonstrates this.
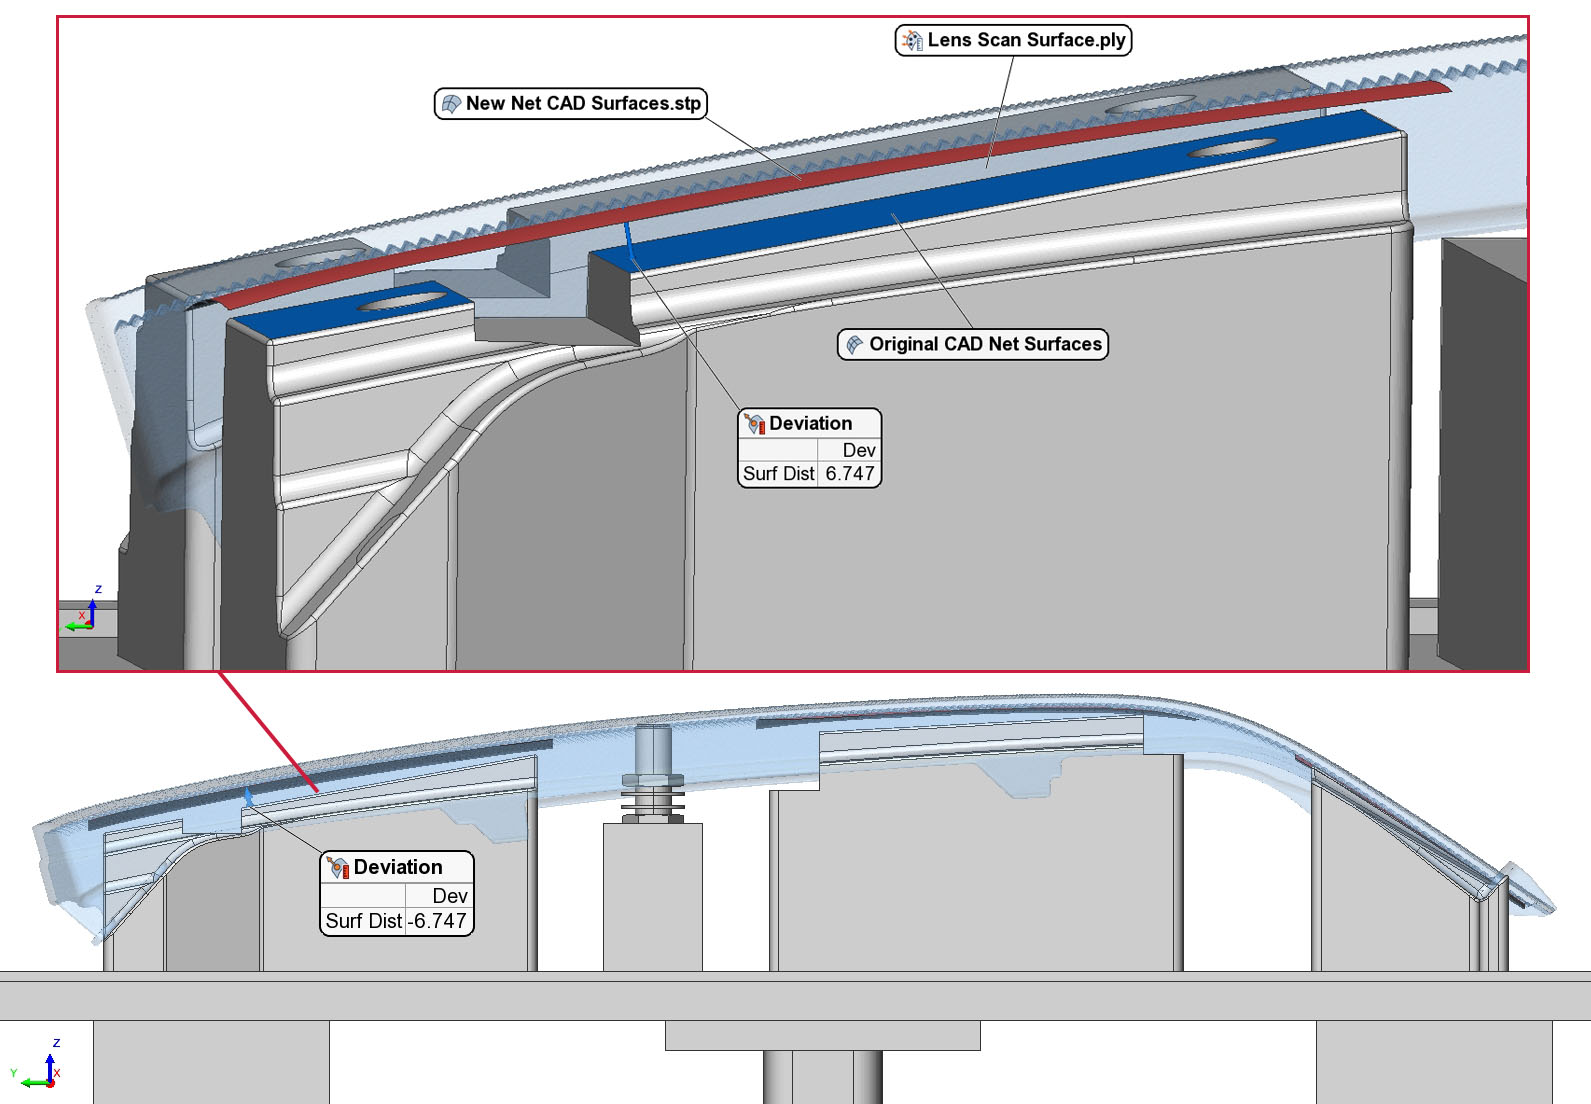
The shown automotive lens has significant warp compared to design CAD, but it fits the assembled light and functions well. To redesign tool steel would be extraordinarily expensive and time consuming. The machining fixture was built using the designed part geometry and could not properly net the part. Instead we took the part warp and incorporated it into new CAD surfacing to update the fixture.

How We Did It
At its highest deviation the part rises over .25 inches above the fixture net. This setup is unstable and would result in a lack of repeatability during clamping and machining, rendering the fixture useless.
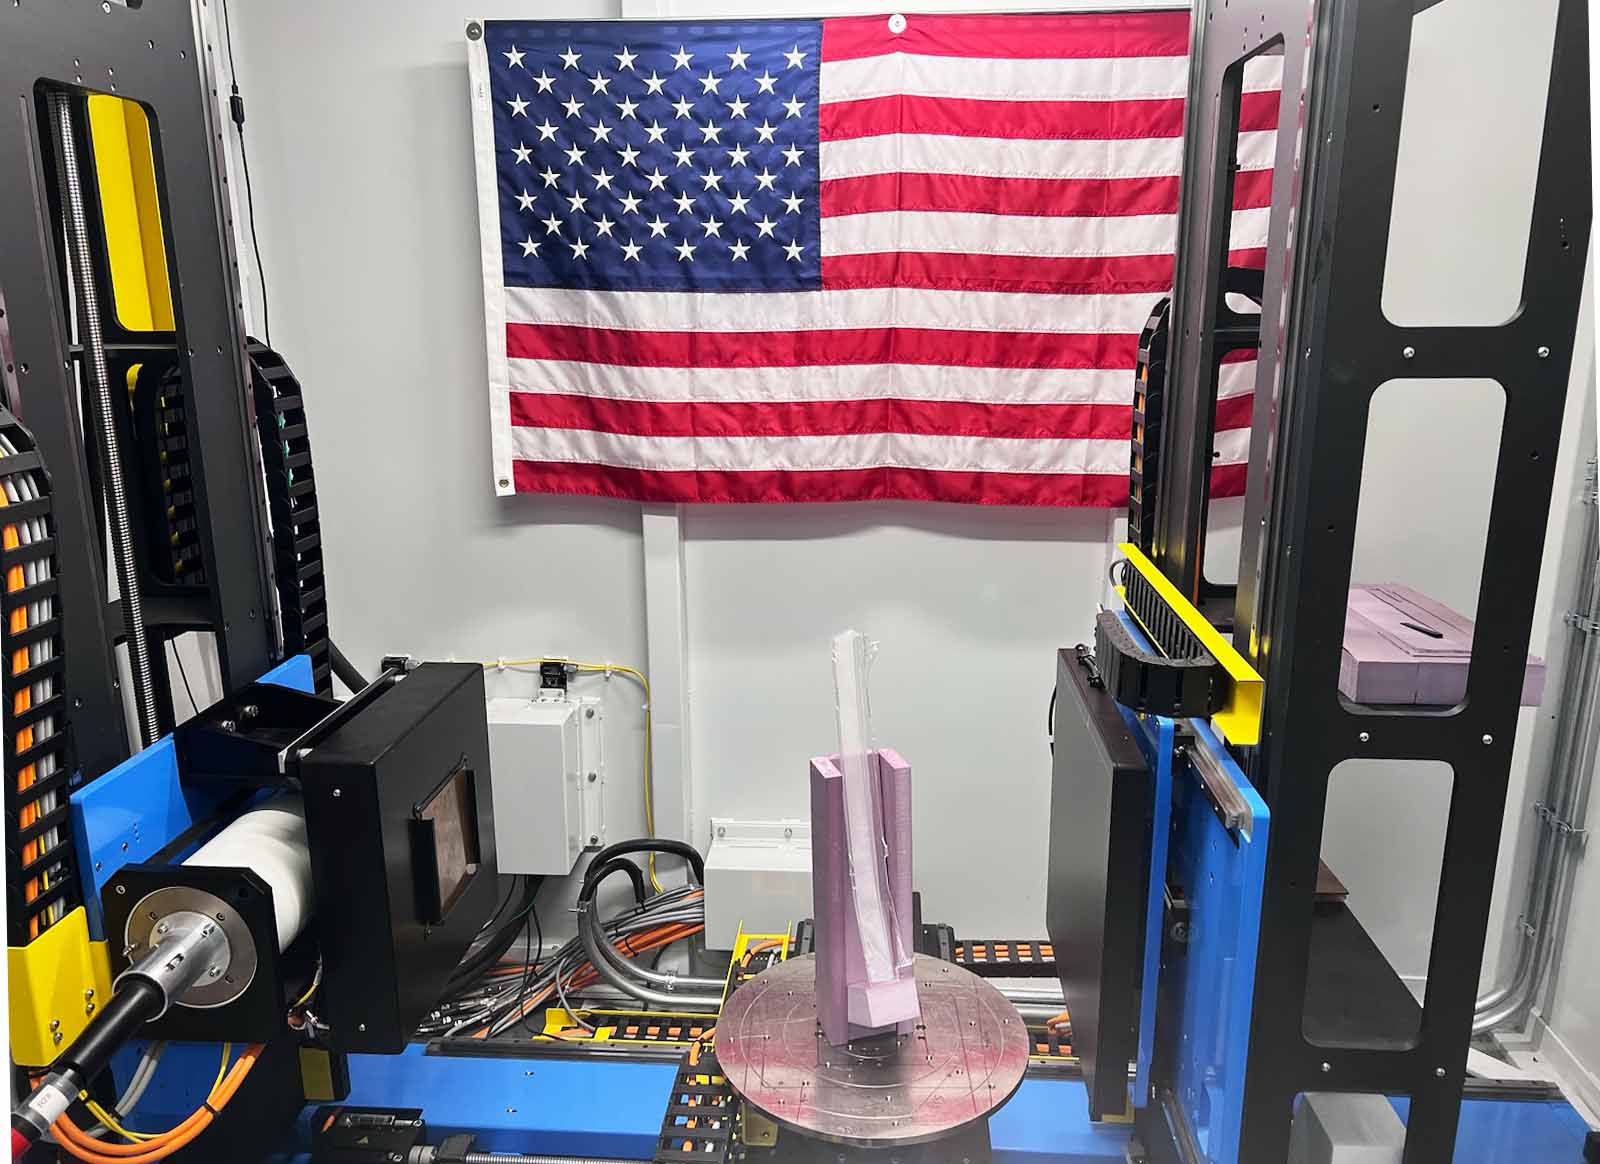
The part data is comprised of multiple scans acquired in our industrial CT systems. The data was scaled for accuracy and then exported to .ply/.stl using Volume Graphics. In PolyWorks we aligned the data to specific features of the fixture to disregard the majority of the warp, cleaned the data, and exported it. The scan file was then imported to Geomagic Design X to build the surfaces. Afterward, the model was compared back to the scan file in PolyWorks for a final profile comparison to prove accuracy.
This is one of the strengths of using a well-rounded inspection services laboratory. Few vendors have the capabilites, and even fewer can use them all simultaneously.

Reverse Engineering Non-Geometric Surfaces
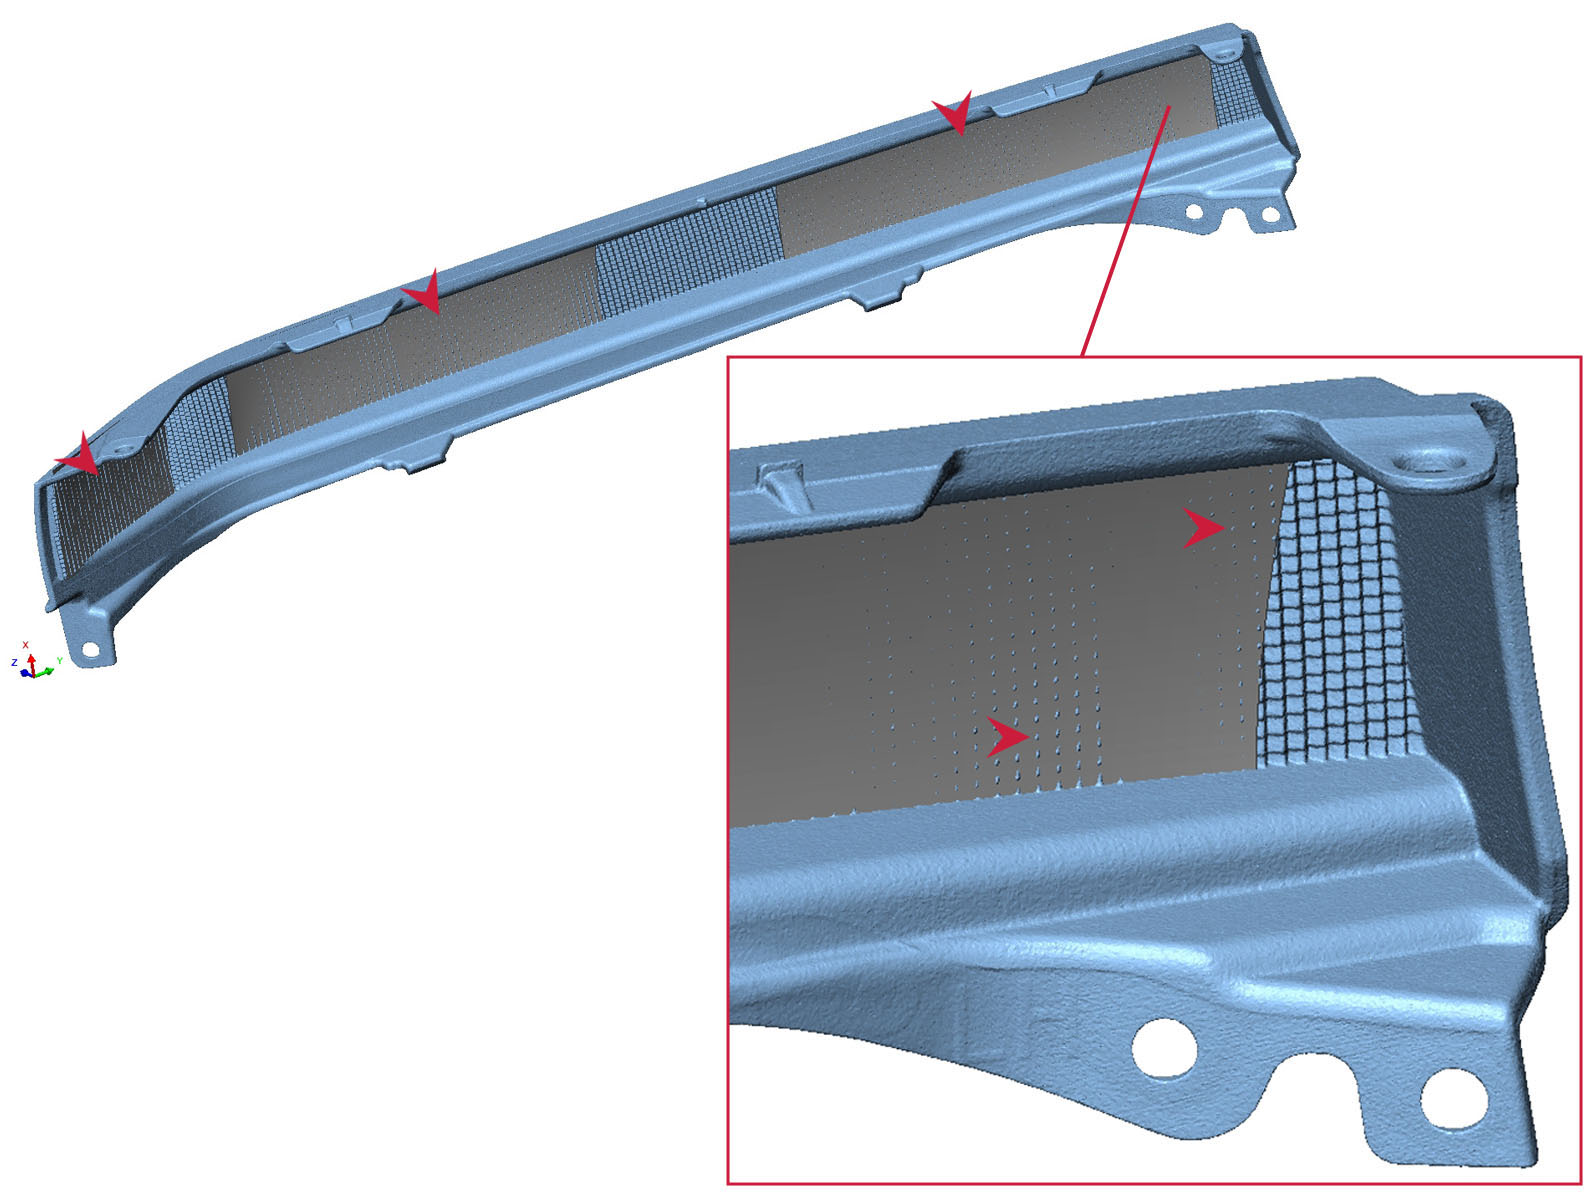
We found a way to make the machined net surfaces match the warped geometry so that the part seats perfectly. At first this sounds simple, but the non-geometric, faceted geometry proved difficult to simultaneously build large, “max” fit, and accurate surfaces on. The surfaces curve, twist, and wave, and the facet heights are variable.
The water tight, high resolution geometry can also be used for dimensional inspection, CAD overlays, FEA, 3D printing, and more.
Onto the next one…


